
How to Install a Navimow MowGate: A Dealer's Field Guide (Free PDF)
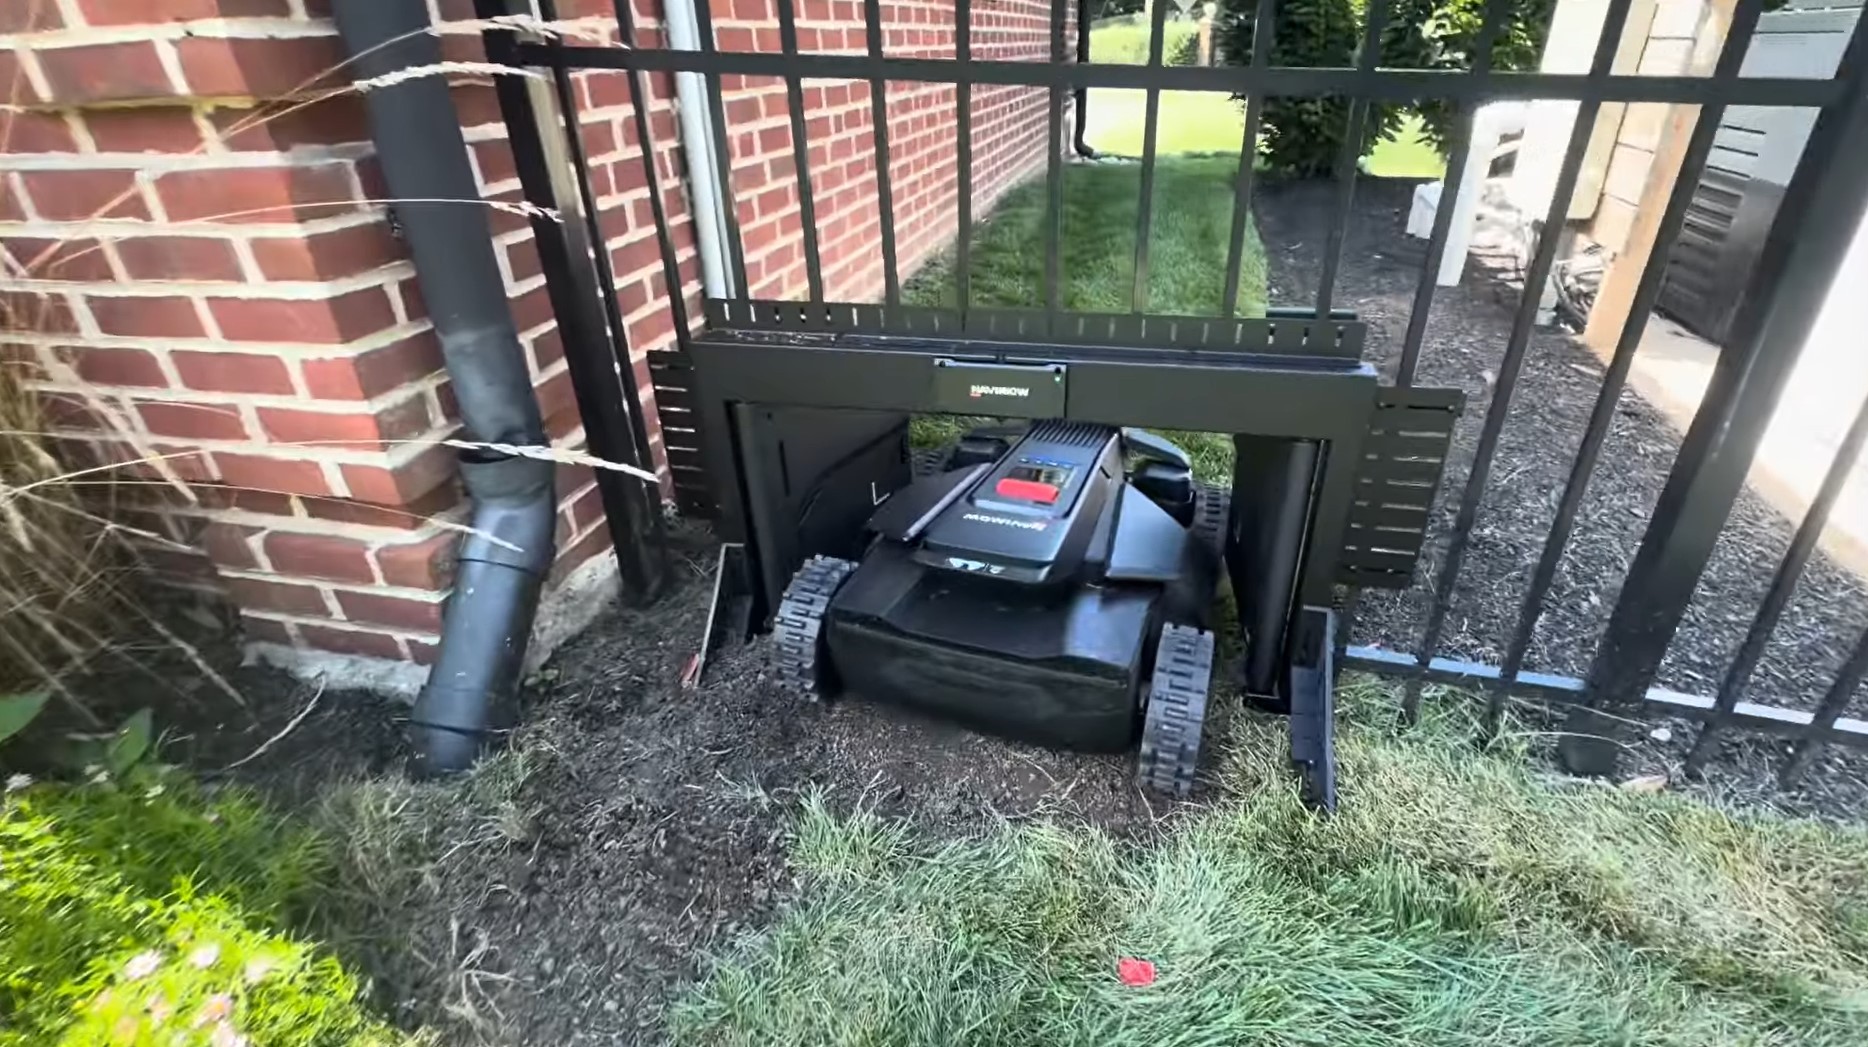
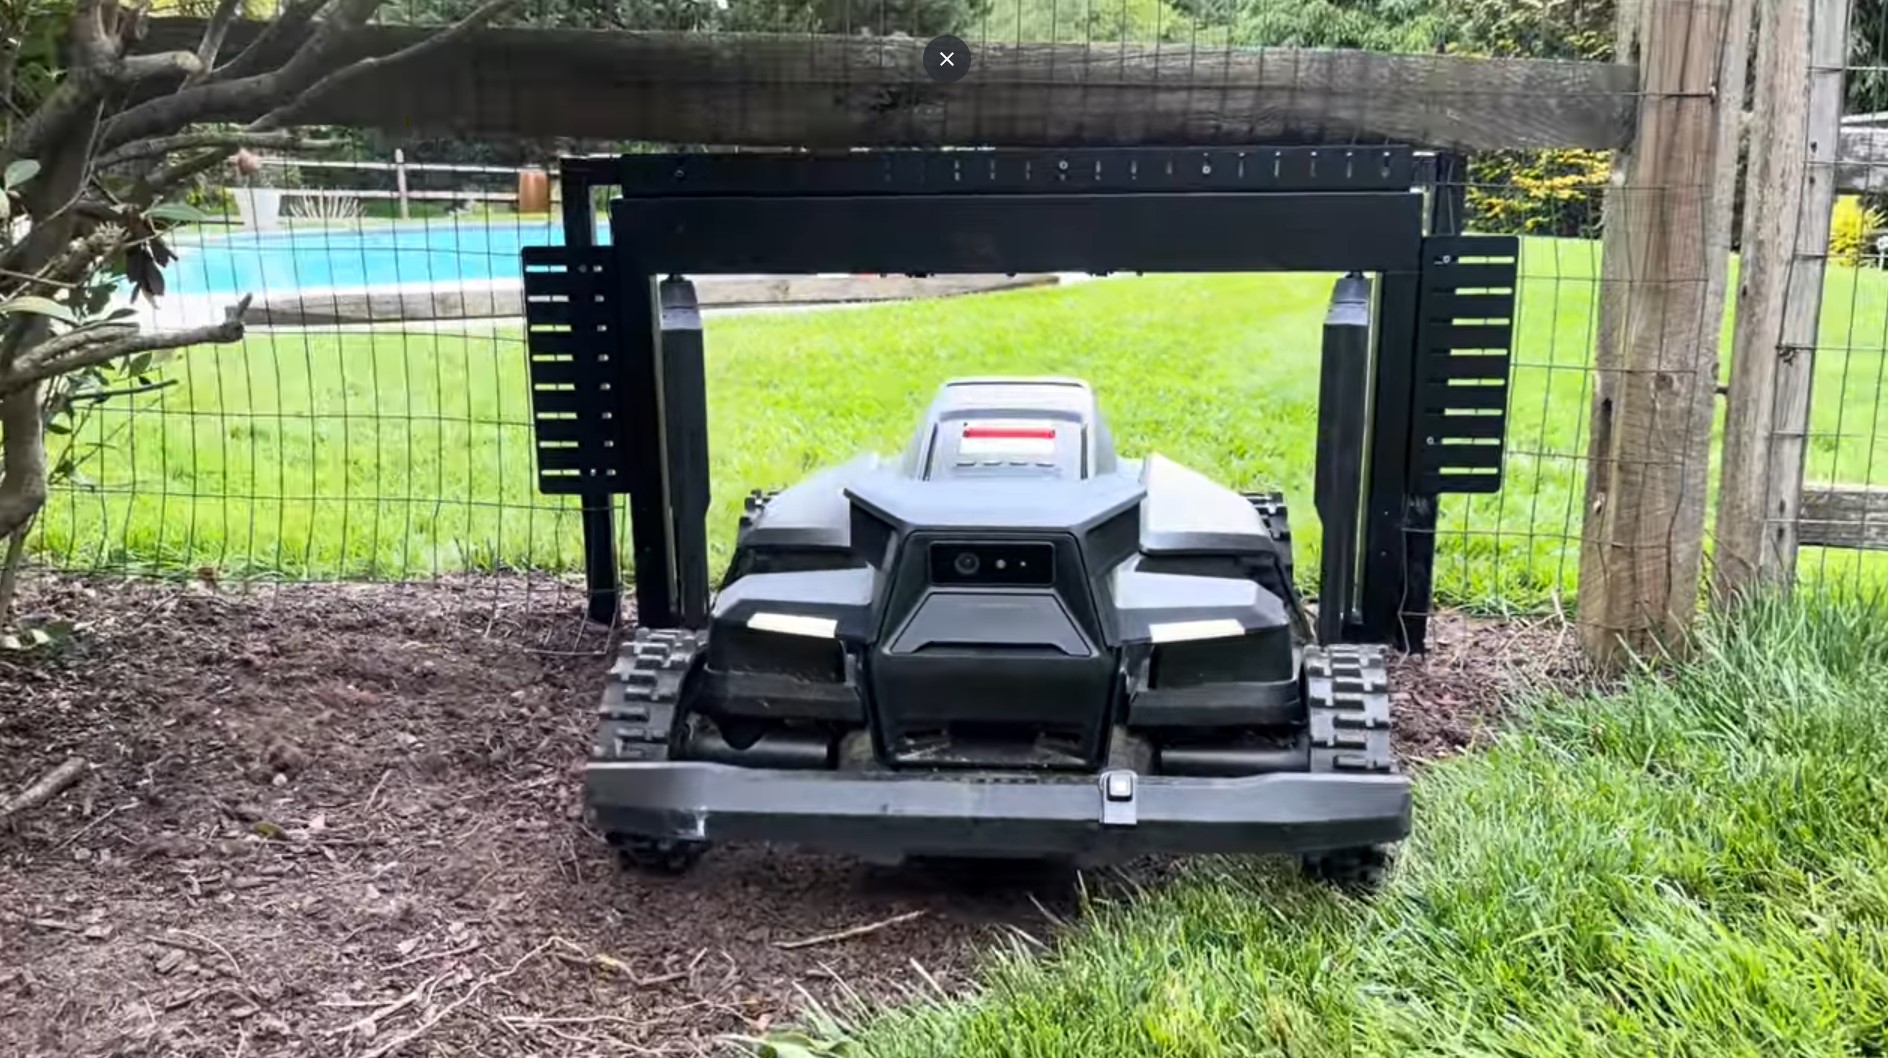
If your robotic mower can only reach half your yard because a fence is in the way, the Navimow MowGate fixes that. It’s a steel pet gate that sits in a small opening at the bottom of your fence, unlocks when your Navimow pulls up, and locks again once the mower is through. Your dog stays in, your mower gets the whole property, and nobody has to walk out and open a gate.
We’ve installed MowGates on wood, aluminum and welded-wire fences across Pennsylvania, Delaware, Maryland and Virginia. The manual in the box covers the basics, but real fences aren’t as tidy as the diagrams — so we wrote our own installation guide based on what actually works in the field. You can download the full 10-page PDF below. Here’s the short version.
What is the Navimow MowGate?
It’s a battery-powered steel gate that the mower opens by itself. A hall-effect sensor in the gate detects a magnet on the mower. Before the gate unlocks, the mower does a 360° scan to check for pets nearby. After it passes through, the gate closes and locks on its own.
| Spec | Inches | Metric |
|---|---|---|
| Outer frame (W × D × H) | 36.6 × 2.4 × 21.3 | 930 × 60 × 540 mm |
| Inner opening (W × H) | 33.5 × 17.7 | 850 × 450 mm |
| Cutting template | 37 × 22 | 93 × 54 cm |
| Weight | 29.1 lb | 16.9 kg |
It runs on four D batteries (not included) for up to about nine months and is rated IPX6 for rain. Compatible mowers: X4 (X430 and X450), X3, i2 AWD, i2 LiDAR, i1, H2 and Terranox. On the X4 and Terranox the magnet is already built in; every other model gets a small magnet holder mounted underneath, and it’s included in the box. The H1 series is not supported.
In the box: the gate, the 37 × 22 in cardboard cutting template, 14 long bolts with cap nuts, 20 short screws, 8 long wood screws, 7 slotted mounting brackets, 2 mesh clamp plates, 4 triangular supports, an Allen key, the top frame rail, 2 plastic tripod feet, and the magnet and holder.
Where should you put it?
Location matters more than anything else on this job. The gate needs flat, level ground — not a slope — and we recommend about three feet of open, mowable space on both sides so the mower can line up straight and do its pet scan without an obstacle in the way.
Good spots: beside an existing gate post or fence post you can screw or bolt into; a straight run of fence at ground level with no step-down; clear sky for RTK (or clear LiDAR references nearby).
Avoid: slopes and dips, or anywhere the gate bottom would sit above or below grade; loose gravel, pavers or soft ground right at the gate — a short, flat, firm mulch strip is fine, and several of our installs run through one; and tucked-away spots behind a shed, AC unit or dense hedge that block the sky.
Navimow rates the MowGate for wood panel, rod (aluminum or steel picket) and mesh (chain link) fences with rails over 4 in wide and 2 in high. Whatever the fence, you cut a 37 × 22 in opening with the cardboard template — the gate frame overlaps the cut edges.
Method A: the wood-frame method (wood fences)
This is how we do most installs, and it’s the trick that makes a crooked fence irrelevant. Grab one 8-ft length of 1×1 pressure-treated lumber from any home center — that covers a full frame with a little to spare.
| Piece | Qty | Cut length |
|---|---|---|
| Top cross beam | 1 | 40 in |
| Side posts | 2 | 26–28 in |
About 6 in of each post goes below grade, so a 27–28 in post puts the beam right at the gate’s 21.3 in height.
- Mark and cut the opening. Trace the template against the fence at ground level and cut the 37 × 22 in opening. Remove any bottom rail inside the opening so the gate sits on bare ground.
- Build the frame. Lay the side posts 37 in apart (outside to outside) and screw the 40 in cross beam across the top with two 1-1/4 in exterior screws per corner. Check it with a speed square.
- Dig and set. Dig a 6 in hole at each side of the opening, stand the frame in it, and push the posts down until the beam sits about 21–22 in above grade.
- Level it. Put a 4-ft level on the cross beam, adjust, then backfill and tamp. Level the frame before the gate ever goes in.
- Tie it to the fence. Two 1-1/4 in screws per side into the adjacent post, rail or gate frame.
- Set the gate. With a helper, lift the 29 lb MowGate into the frame, level it with a torpedo level, and shim the low side. The gate must be level or the latch will bind.
- Screw the gate to the frame — top center first, then top corners, then sides. Don’t over-tighten into the 1×1.
- Test the swing with no batteries in: it should swing freely and return without rubbing.
Field tips: pressure-treated lasts longest in ground contact (cedar rots faster at the buried end); drop a handful of gravel in each hole if the ground is soft; on a swinging wood gate, mount on the hinge side, not the latch side; and paint or stain the frame before the gate goes on — it’s much harder afterward.
Method B: bolting to an aluminum or steel picket fence
Aluminum fences get bolted, not screwed — the kit’s long bolts and cap nuts clamp the gate frame through drilled pickets and rails.
The key detail most people miss is where you cut the pickets. Don’t remove them entirely. Cut each picket at the top line of the template, not at the top rail, and take out only the lower section. The stubs left hanging from the top rail end exactly at the top of the gate — and they become your bolt points for the gate’s top frame. The first full picket on each side takes the side brackets.
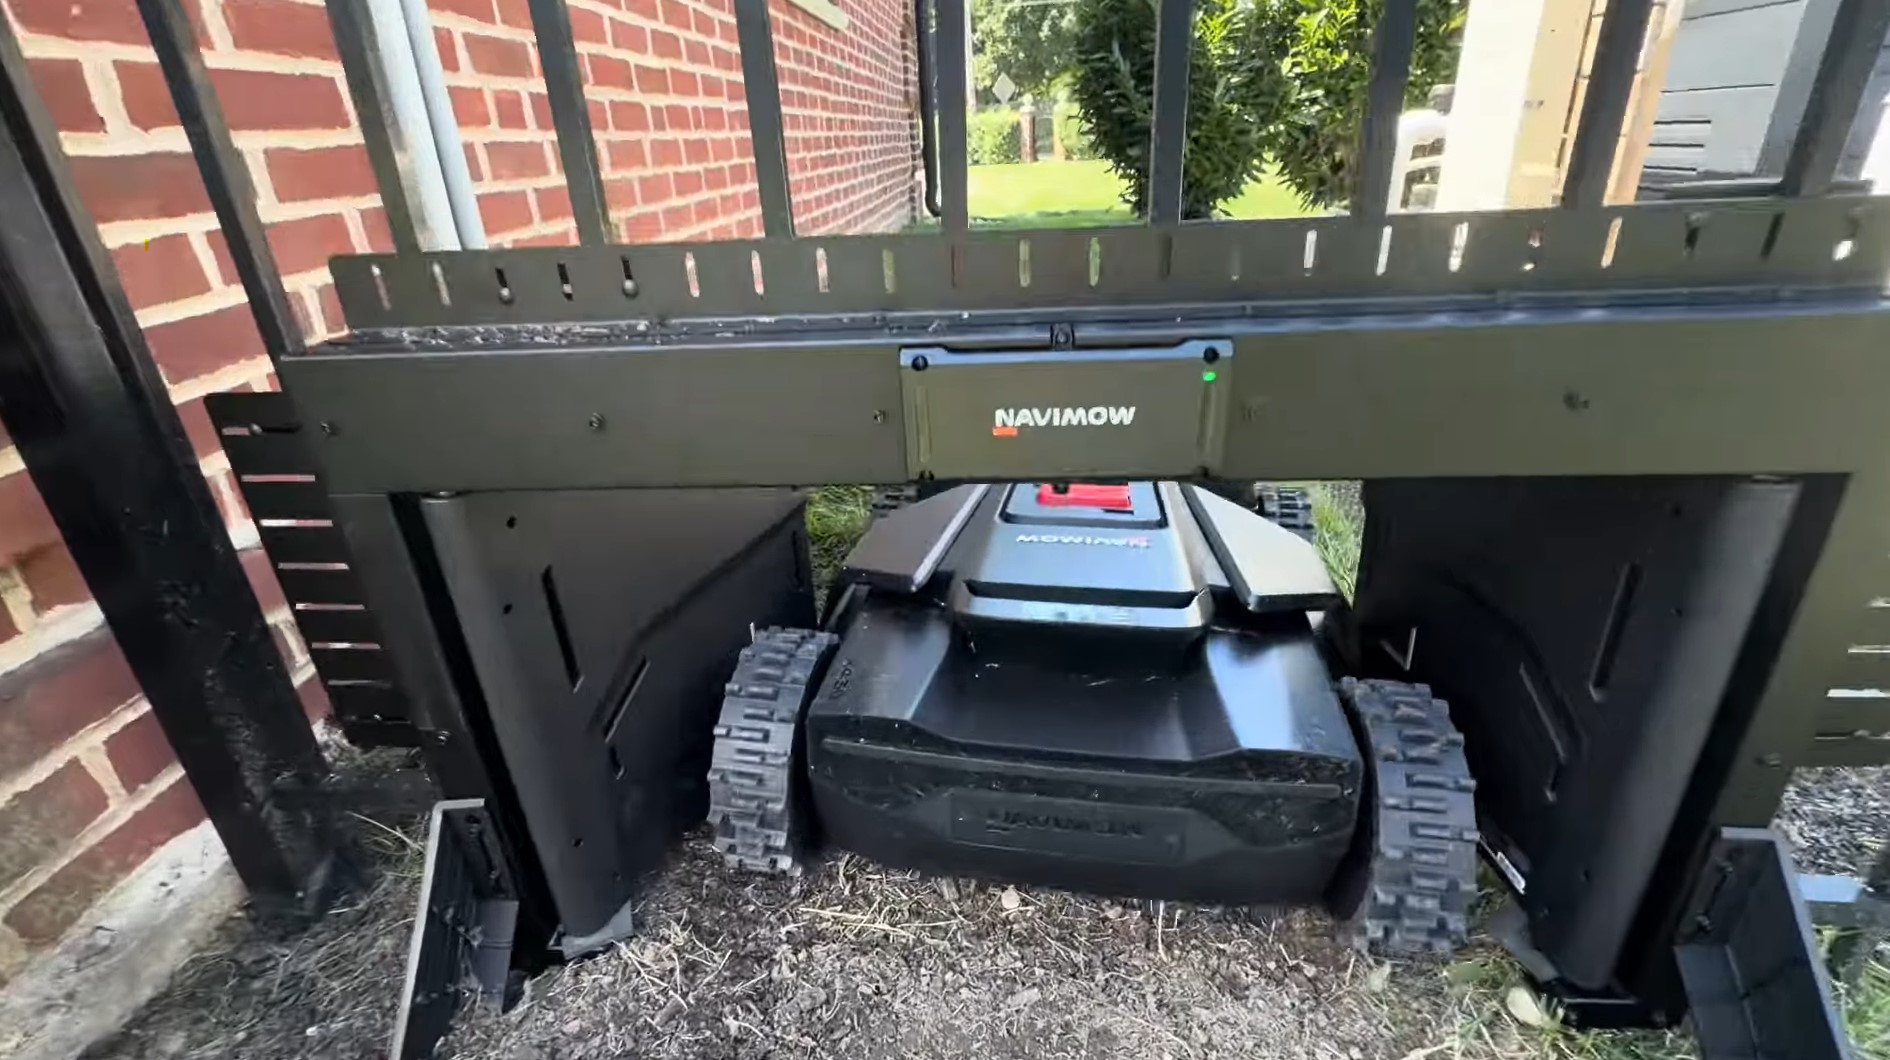
Also remove the section of bottom rail inside the opening so the gate sits on the ground, and the top rail too if it falls inside the 22 in height. Fit and level the gate, mark your holes, drill the pickets (slow speed, a drop of oil), then bolt it on — top first, then sides, snugged evenly. Aluminum crushes if you overtighten. If one side has no rigid picket within reach, add a triangular support from the kit.
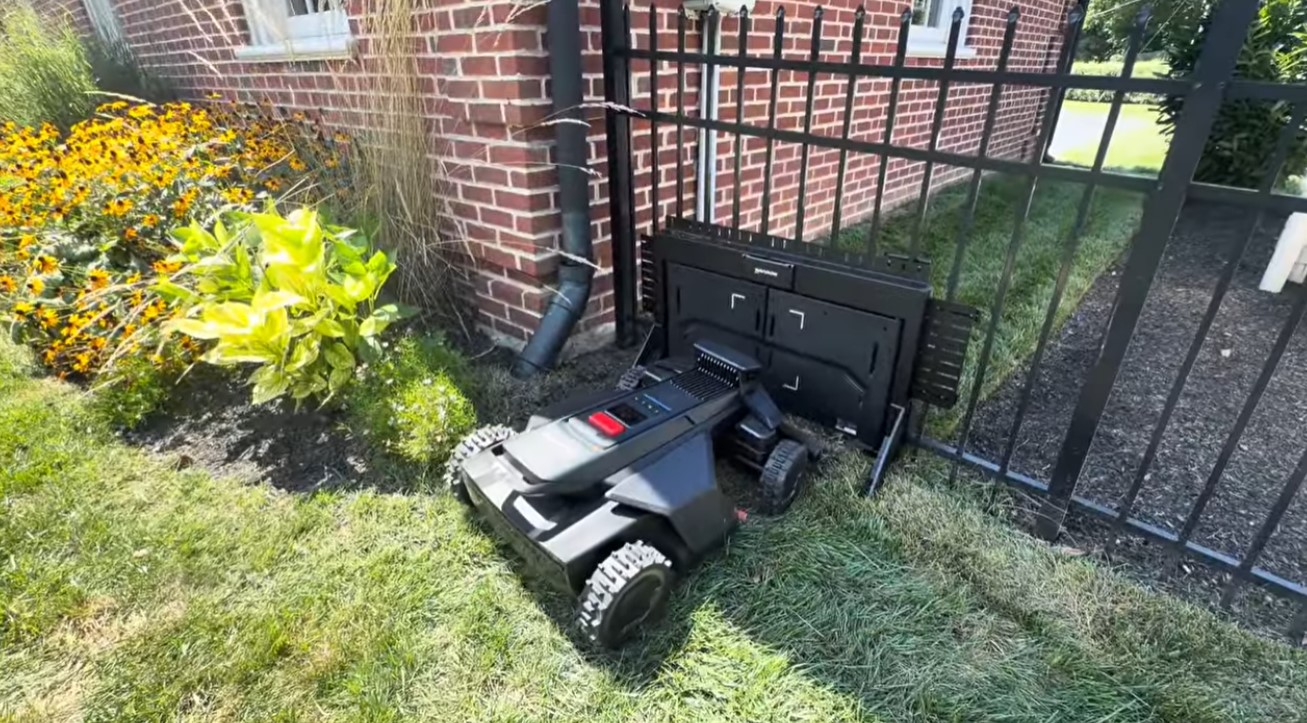
Tips: residential aluminum pickets are usually 5/8–1 in square and under 4 in apart, which normally puts one within an inch or two of the gate’s side holes — but check before you cut. If the gate lands between pickets with nothing to bolt to, bolt a short piece of 1×1 pressure-treated wood vertically behind the pickets and screw the gate to that (a hybrid of Methods A and B). Touch up the cut edges with matching spray paint so they don’t show silver.
Method C: chain link and welded wire
Mesh won’t hold a screw, so Navimow includes plastic tripod feet that widen the gate’s footprint and triangular supports that brace it against the fence fabric.
Cut the opening with a reciprocating saw or angle grinder and fold the sharp wire ends away. Fit one foot to each bottom corner, pointing away from the fence on the side the mower approaches from most, then level the gate by scraping or filling underneath. Install a triangular support on each side, tie the top through the mesh with bolts or heavy zip ties so the gate can’t rock, and test the swing.
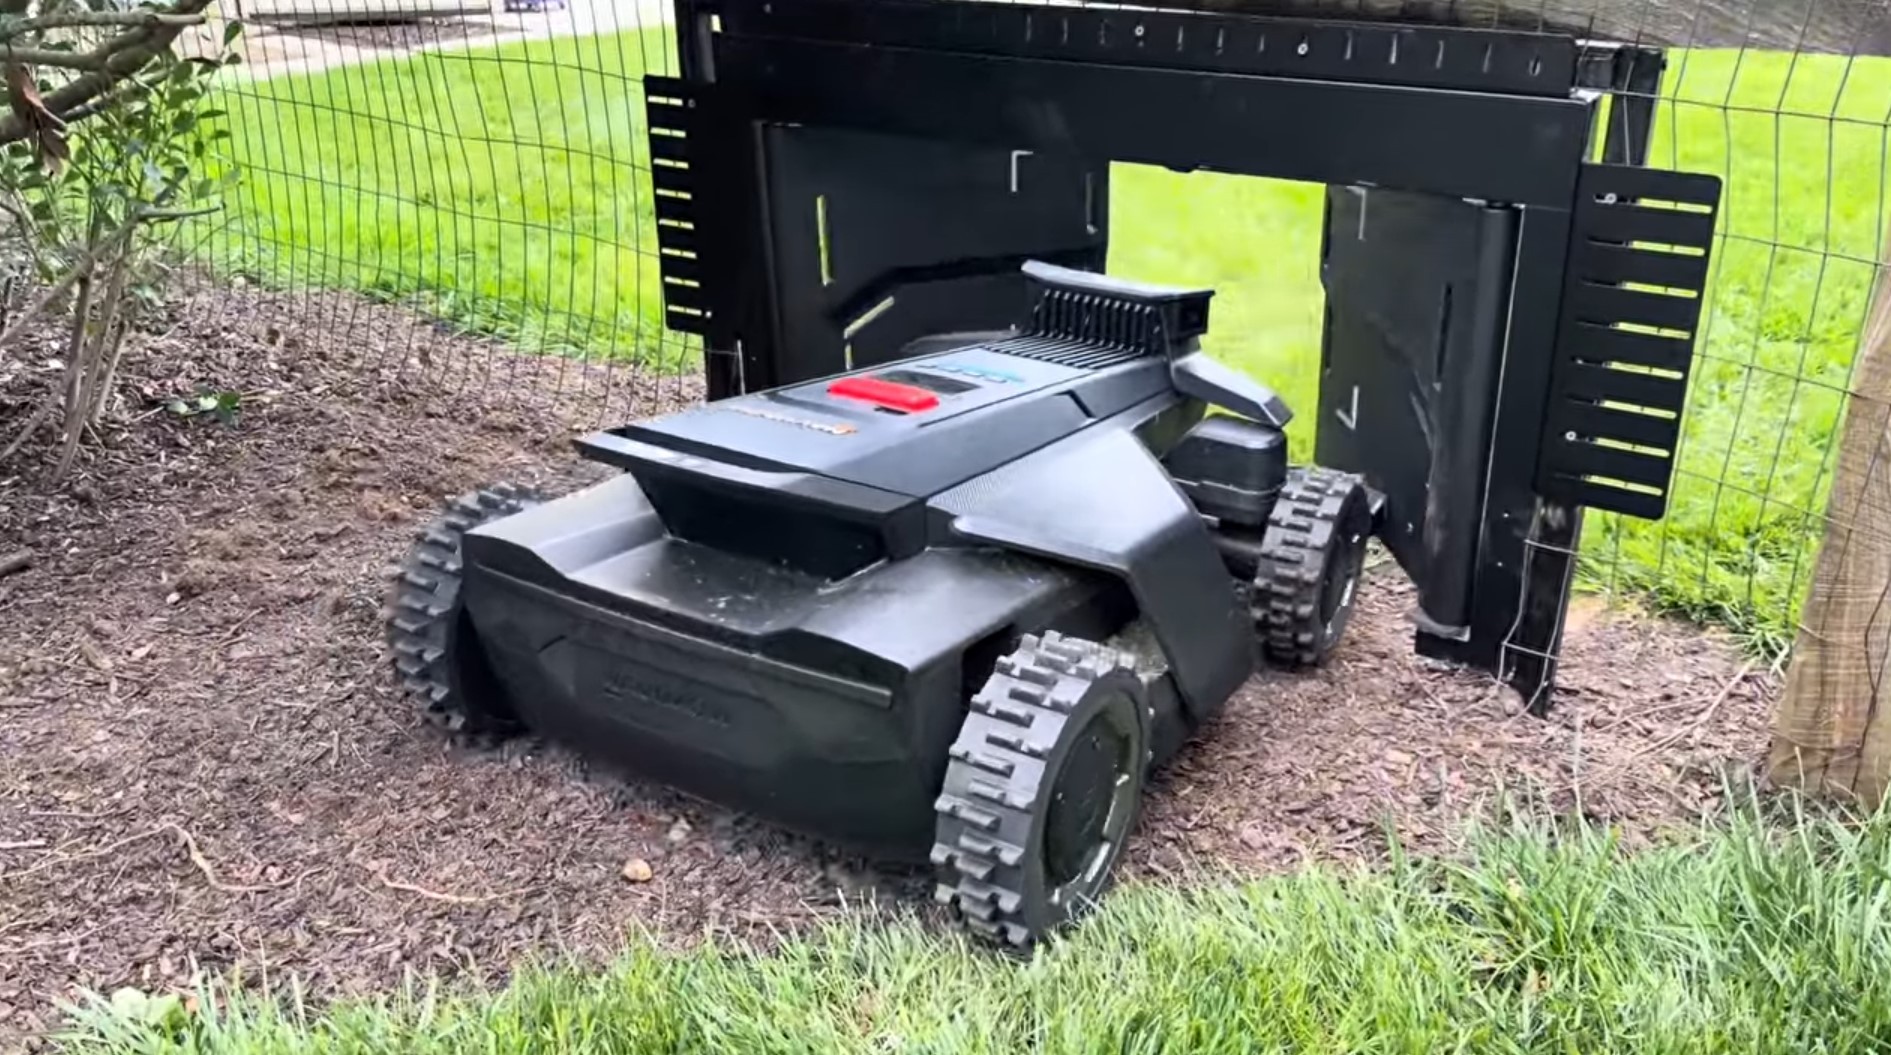
On chain link, our wood frame also works well: set the frame in the ground, wire-tie it to the mesh, and screw the gate to the wood. On wood or aluminum fences, Methods A and B give a more solid result and the feet are optional.
Batteries, magnet and app setup
Drop in four D batteries, matching the polarity marks, replace the lid, and wait for the indicator light to turn green.
If your mower isn’t an X4 or Terranox, fit the magnet holder first. Power the mower off, set it upside down on a flat surface, and wipe the area clean before sticking it on — the arrow direction matters:
| Mower | Magnet holder location | Arrow |
|---|---|---|
| i1, i2 AWD | Under the mower, behind the handle (adhesive) | Left |
| i2 LiDAR | Gap between the front edge and the battery slot | Down |
| X3 | Under the mower near the front edge | Down |
| H2 | Cubic slot under the board between the caster wheels (6 screws) | — |
| X4 (X430, X450) | Pre-installed — nothing to do | — |
| Terranox | Pre-installed — nothing to do | — |
Then map the channel. Map a mowing zone on each side of the fence first — the gate connects two zones, so both have to exist. In the Navimow app, go to Home > Settings > Map management > Edit map > Add more and tap the MowGate icon.
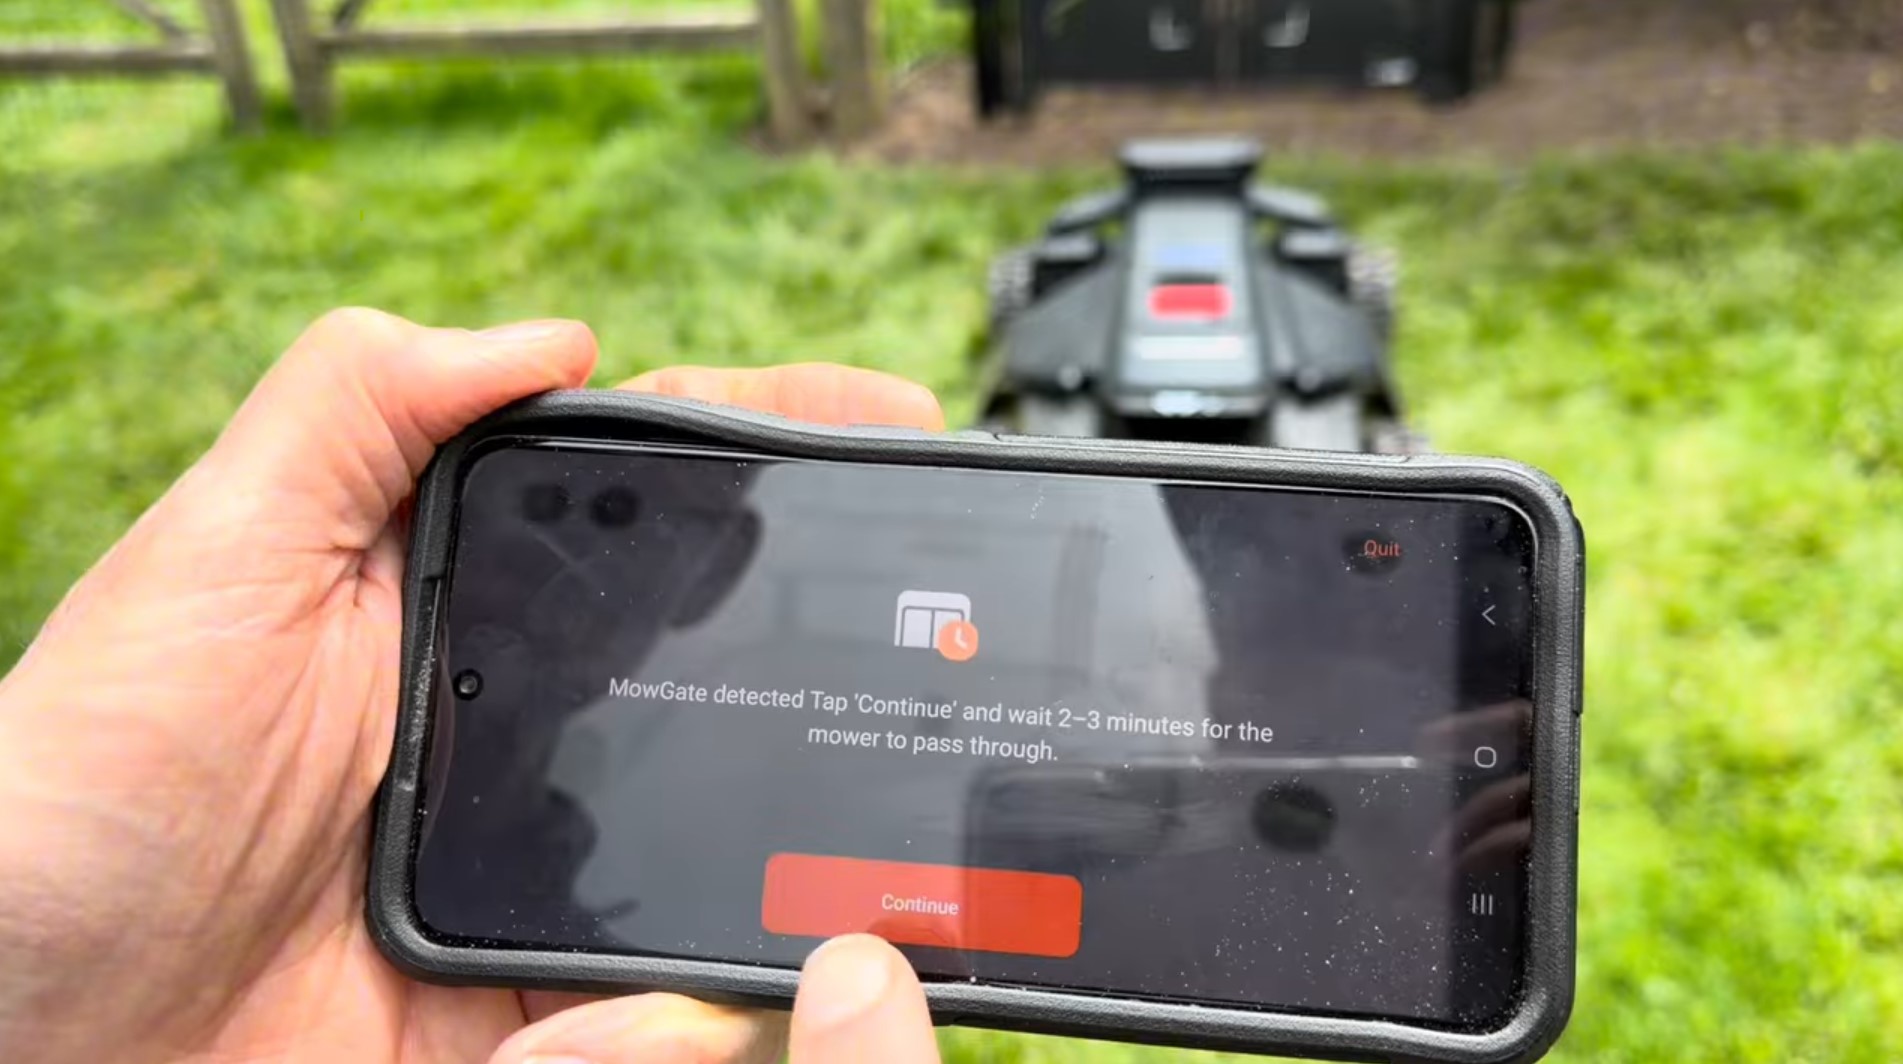
Drive the mower up to the gate, straight and centered. When the app says “MowGate detected,” tap Continue and allow two to three minutes for the mower to pass through. That recording becomes the channel your mower uses from then on.
Before you call it done, send the mower from one zone to the other from the app and watch the whole sequence: it stops in front of the gate, spins to scan for pets, the gate light changes, it passes through, and the gate re-locks. Then run one full mow of both zones.
Troubleshooting
| Symptom | Likely cause | Fix |
|---|---|---|
| Gate doesn’t unlock as the mower approaches | Magnet missing, wrong orientation, or no batteries | Check the magnet arrow direction for your model; confirm the gate light is green |
| Mower stops short and won’t enter | Channel not mapped, or an obstacle in the scan area | Re-record the channel; clear pets, toys and tall grass from 3 ft around the gate |
| Gate panel rubs or sticks | Frame out of level, or over-tightened screws | Re-level with a torpedo level, back off the screws, lubricate |
| Gate rocks or shifts after a few weeks | Post holes settled | Re-tamp the dirt; add gravel under the side posts |
| Light is yellow | Batteries at 50% or below | Plan to replace soon |
| Light is red | Batteries dead | Replace all four D batteries |
Keeping it running
Replace all four D batteries together when the light turns red — expect roughly one set per mowing season. Brush off dirt with a soft brush, wipe mud with a damp towel and dry it. Hit the frame and hinge points with WD-40 gel or similar at the start of each season. And if you used the wood frame, check the buried ends each spring for rot and re-screw anything that’s loosened.
Download the full guide
Our free MowGate Installation Guide covers everything above in detail: cut lists, to-scale diagrams, photos from real installs, the magnet placement chart for every mower model, and the full troubleshooting table.
Want us to handle it?
Zippy Lawnz is an authorized Segway Navimow dealer and service center. We install MowGates alongside new mower setups, or as a standalone job if you already have a Navimow — and we’ve done them on fenced pool areas and working farms with paddocks and dogs.
- 📍 Map my lawn — free — see how a mower would cover your property, fences and all, in 2 minutes.
- 🟢 Talk to us — MowGate installs across PA, NJ, MD, DE, VA and CO.
Frequently asked
What is a Navimow MowGate?
It's a steel, battery-powered pet gate that sits in a 37 × 22 inch opening at the bottom of your fence. A hall-effect sensor detects a magnet on the mower, the mower does a 360° scan for pets, the gate unlocks, the mower passes through, and the gate re-locks on its own. The frame is 36.6 × 21.3 inches with a 33.5 × 17.7 inch opening, weighs 29 pounds, runs on four D batteries for up to about nine months, and is rated IPX6.
Which Navimow mowers work with the MowGate?
The X4 series (X430 and X450), X3, i2 AWD, i2 LiDAR, i1, H2 and Terranox. On the X4 and Terranox the magnet is already built in — nothing to fit. Every other supported model gets the small magnet holder that comes in the box, mounted underneath in a model-specific spot and orientation. The H1 series is not supported.
How do you install a MowGate on a wood fence?
Our wood-frame method: cut the 37 × 22 inch opening with the cardboard template, build a 1×1 pressure-treated frame (one 40 inch cross beam, two 26–28 inch side posts), bury about 6 inches of each post, level the beam, screw the frame to the fence, then screw the MowGate to the frame. The frame gives you a square, level mounting surface even when the fence itself is crooked.
Where do you cut the pickets on an aluminum fence?
At the top line of the template, not at the top rail — and remove only the lower section of each picket. The stubs left hanging from the top rail end exactly at the top of the gate and become the bolt points for the gate's top frame. The first full picket on each side takes the side brackets. Cutting pickets out entirely leaves nothing to bolt to.
How do you map a MowGate channel in the Navimow app?
Map a mowing zone on each side of the fence first. Then go to Home > Settings > Map management > Edit map > Add more and tap the MowGate icon. Drive the mower up to the gate straight and centered; when the app says "MowGate detected," tap Continue and allow two to three minutes for the mower to pass through. That recording becomes the channel the mower uses from then on.
What does the MowGate status light mean?
Green is healthy. Yellow means the batteries are at 50 percent or below — plan to replace them. Red means they're dead and all four D cells need swapping. Expect roughly one set of batteries per mowing season.
Keep reading
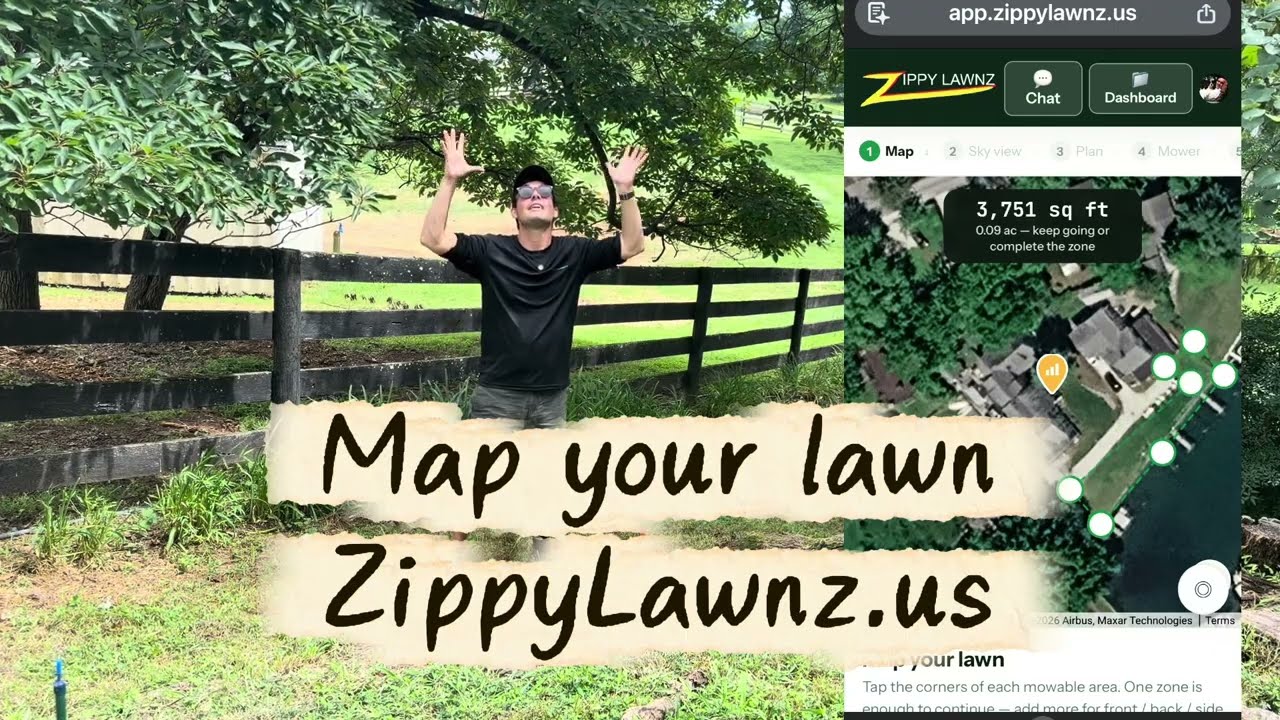 Customer InstallsNavimow X450 on a Virginia Farm: Gates, Paddocks, Tight PassagesCan a robot mower handle a working farm? We put the Navimow X450 on a Virginia farm — MowGate through fences, paddock zones, no-go zones and RTK + cellular.
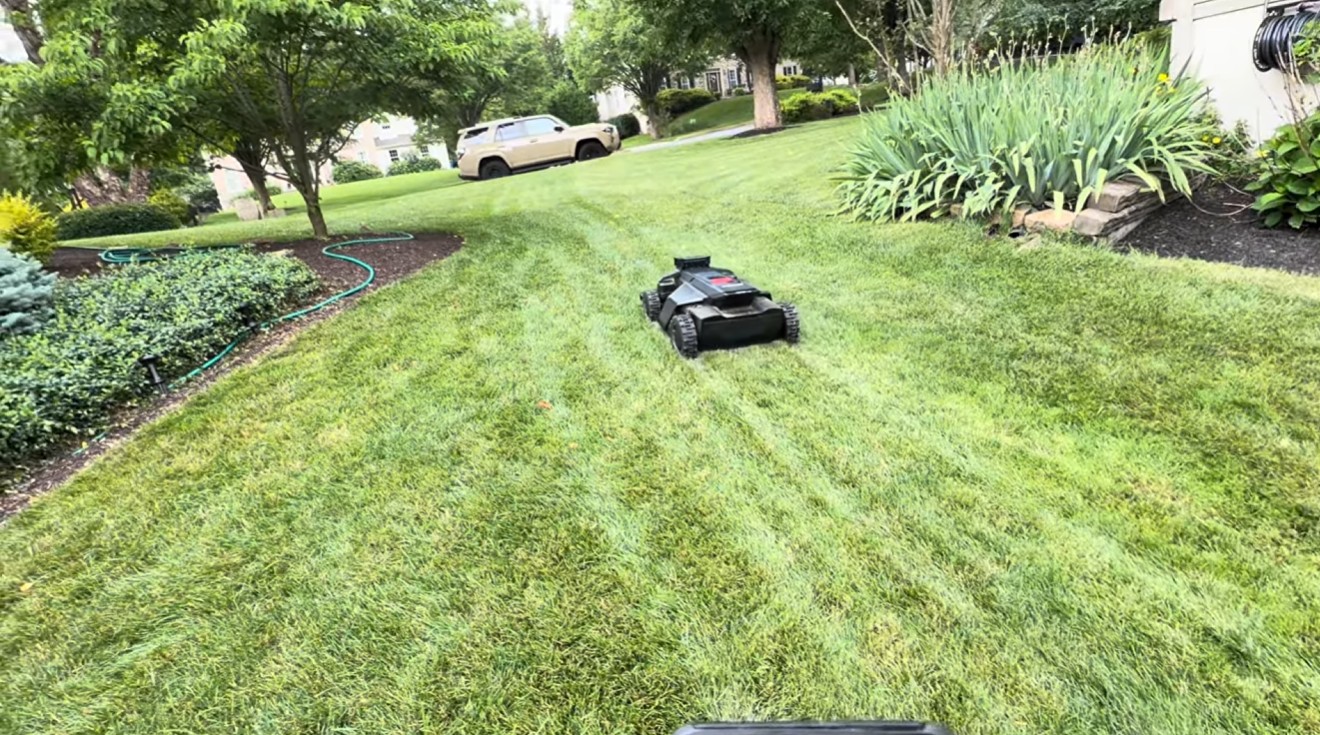 Customer InstallsNavimow X430 Review: A West Chester Homeowner's Take After 1 MonthWe installed a Navimow X430 for a West Chester, PA homeowner, then asked for his honest take 30 days later — including a tricky pool fence handled with a MowGate.
 Installation & SetupWhat a Professional Robotic Mower Installation Actually Looks LikeWe filmed a robotic mower install start to finish — RTK placement, wall-mounted power, mapping, and training — and why the install matters more than the mower.
Explore the system
The mowers and pages behind this topic — see them sized to your yard.